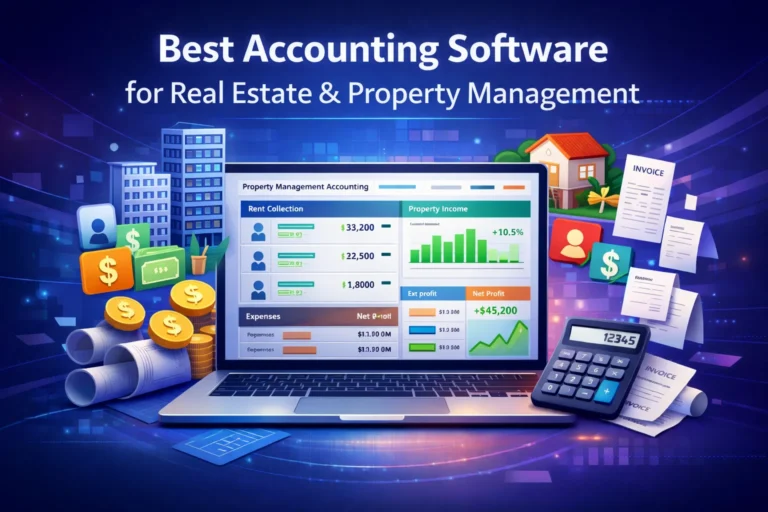
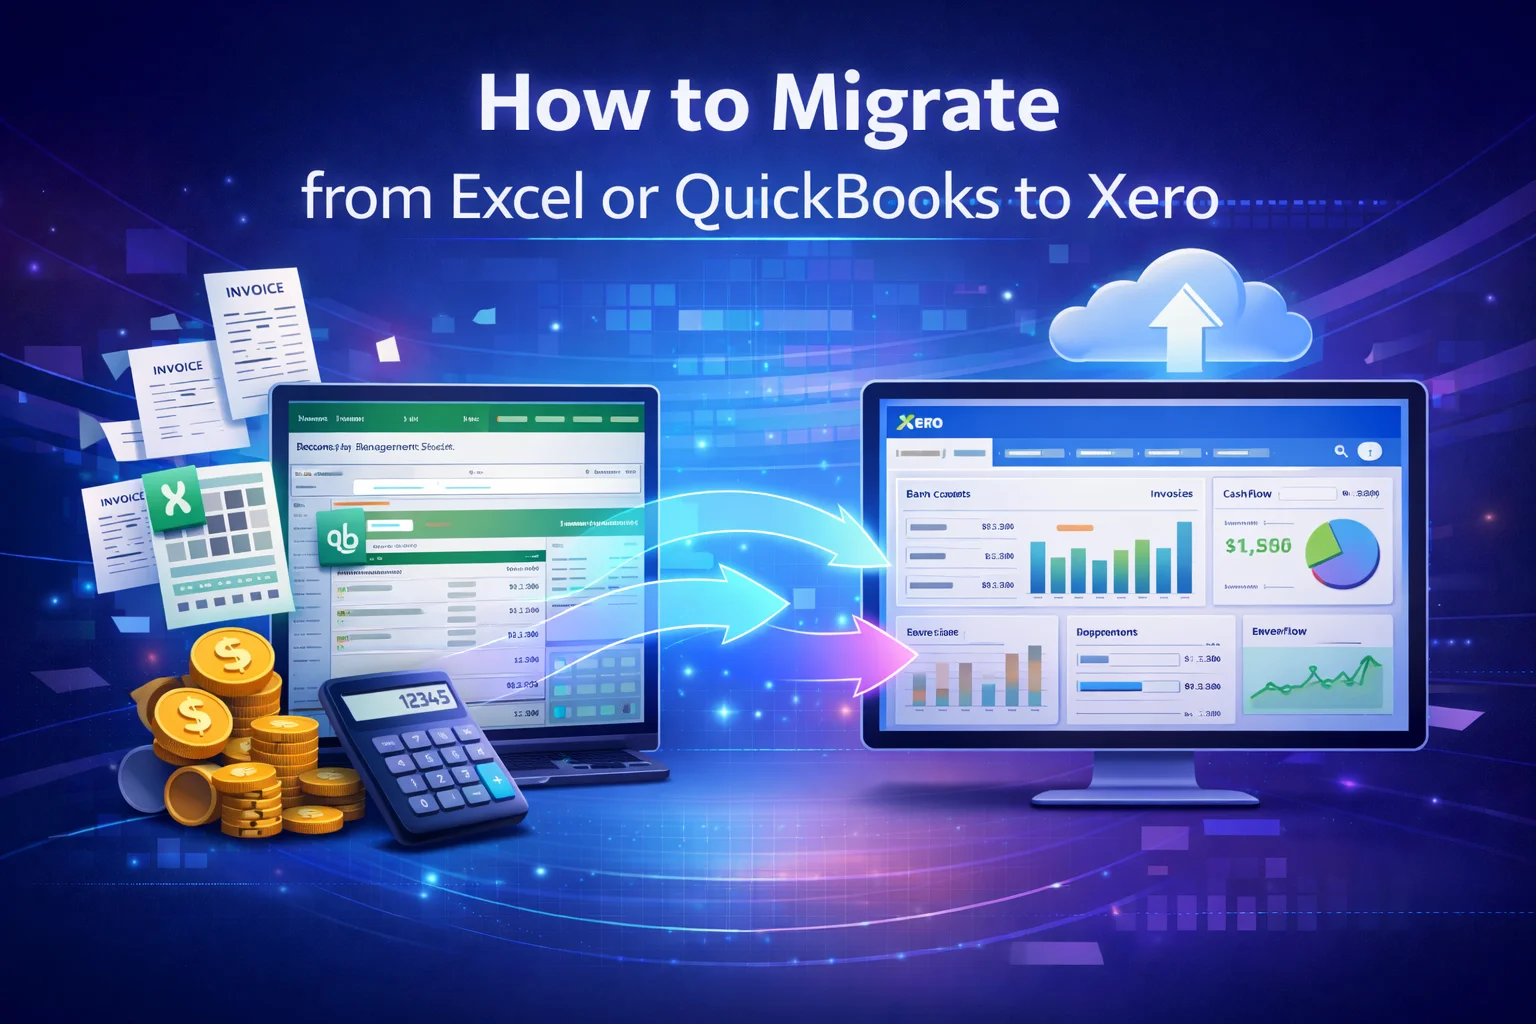
How to Migrate from Excel or QuickBooks to Xero (Full Migration Guide)
Switching accounting software is a major decision for any business. Many companies begin with spreadsheets or traditional accounting tools, but as operations grow, they need automation, real-time reporting, and cloud accessibility. That’s why thousands of businesses migrate to Xero each year.
Whether you’re moving from spreadsheets or another accounting platform like QuickBooks, a well-planned migration ensures your financial data stays accurate and your accounting processes continue without disruption.
This guide explains how to migrate from Excel or QuickBooks to Xero step-by-step, including preparation, data transfer methods, and post-migration checks.
Why Businesses Switch from Excel or QuickBooks to Xero
Many small businesses initially manage finances in Excel because it’s simple and familiar. However, spreadsheets lack automation and real-time accounting features.
Similarly, some companies migrate from QuickBooks to Xero to gain a more flexible cloud accounting environment.
Common reasons for switching include:
- Real-time bank feeds and automatic reconciliation
- Cloud access from any device
- Better integrations with apps like payroll, CRM, and ecommerce
- Automation for invoicing and expense tracking
- Scalable accounting as the business grows
In addition, Xero integrates with hundreds of third-party tools, creating a connected financial ecosystem for modern businesses.
What Data Can Be Migrated to Xero?
Before starting the migration process, it’s important to understand what data typically transfers between accounting systems.
Most migration tools can transfer key financial records such as customers, suppliers, chart of accounts, invoices, and payments.
Common Data That Transfers
| Data Type | Migrated to Xero |
|---|---|
| Chart of accounts | ✔ Yes |
| Customers and suppliers | ✔ Yes |
| Invoices and bills | ✔ Yes |
| Payments and deposits | ✔ Yes |
| Journal entries | ✔ Yes |
| Bank transactions | ✔ Yes |
Data That May Not Transfer Automatically
| Data Type | Notes |
|---|---|
| Attachments and files | Usually need manual transfer |
| Budget data | Often recreated manually |
| Integrations | Must reconnect apps after migration |
| Payroll history | May require separate import |
Understanding these limitations helps avoid surprises during the transition.
Step-by-Step Guide to Migrating from Excel or QuickBooks to Xero
A successful migration follows a structured process. Below is the same workflow used by professional accountants and migration specialists.
Step 1: Clean Up Your Existing Accounting Data
Before moving any data, review your existing accounting records.
Cleaning up your books ensures the information transferred into Xero is accurate.
Important tasks include:
- Removing duplicate contacts
- Reconciling bank accounts
- Writing off old unpaid invoices
- Fixing incorrect opening balances
- Updating tax settings
Cleaning the data beforehand significantly reduces migration errors.
Pro Tip:
Run key financial reports before migration so you can compare them later.
Recommended reports:
- Trial balance
- Profit & loss statement
- Balance sheet
- Aged receivables
- Aged payables
Step 2: Choose Your Migration Method
Businesses typically migrate to Xero using one of three methods.
1. Manual Migration (Best for Excel Users)
If your current accounting records are stored in spreadsheets, you can manually import data into Xero using CSV templates.
Steps include:
- Export your Excel data into CSV format
- Format it according to Xero’s import templates
- Upload files to the Xero dashboard
This method works well for small businesses with simple records.
2. Automated Migration Tools
Migration tools automate the transfer of data from QuickBooks to Xero.
These tools can move large volumes of historical data quickly.
Typical migration workflow:
- Export QuickBooks data
- Map accounts to Xero
- Import data using the migration tool
- Review and validate imported records
Mapping the chart of accounts correctly is essential, because mismatched account types can cause financial discrepancies in the new system.
3. Professional Migration Services
For businesses with complex accounting data, hiring an accountant or migration specialist may be the safest option.
These experts handle:
- Data mapping
- Historical transaction imports
- Tax configuration
- Integration setup
This method is recommended for large companies or multi-entity businesses.
Step 3: Set Up Your Xero Organization
Before importing data, your Xero account must be properly configured.
Key setup steps include:
Company Information
Add basic company details such as:
- Legal business name
- Financial year-end
- Tax registration numbers
Chart of Accounts
You can either:
- Use Xero’s default chart of accounts, or
- Import your existing chart for consistency
Maintaining the same chart structure ensures your financial reports remain comparable after migration.
Tax Settings
Configure:
- VAT or sales tax rates
- reporting periods
- default tax codes
Bank Feeds
Connect your bank accounts so transactions automatically import into Xero.
Step 4: Import Your Accounting Data
Once Xero is ready, begin importing financial data.
The order of import usually follows this sequence:
- Chart of accounts
- Customers and suppliers
- Opening balances
- Outstanding invoices and bills
- Bank transactions
Uploading open invoices and bills ensures outstanding balances appear correctly in Xero.
Step 5: Verify Data Accuracy
Data validation is one of the most critical stages of migration.
After importing your records, compare key reports between your old system and Xero.
Important checks include:
Trial Balance Comparison
Compare the trial balance from both systems line-by-line to ensure totals match.
Bank Balance Verification
Ensure bank balances match the final reconciled balances from the previous system.
Accounts Receivable & Payable
Confirm that outstanding invoices and bills match previous records.
Even small differences may indicate mapping errors during the import process.
Step 6: Reconnect Integrations and Apps
Most businesses rely on external apps such as:
- payroll systems
- payment gateways
- ecommerce platforms
- CRM tools
These integrations will need to be reconnected inside Xero after migration.
Creating a list of all existing integrations before migrating helps ensure nothing is missed.
Common Migration Mistakes to Avoid
Many migration issues occur due to poor preparation.
Here are some mistakes accountants often see during system transitions.
Migrating Without a Cut-Off Date
Choose a clear migration date, such as:
- Month end
- Quarter end
- Financial year end
This prevents duplicate transactions.
Importing Dirty Data
If your existing books contain errors, those errors will transfer into the new system.
Always clean your records first.
Incorrect Chart of Accounts Mapping
Mapping the wrong account types can create unbalanced financial reports.
Double-check every mapping before importing.
Pro Tips for a Smooth Migration
After working on multiple accounting migrations, here are several expert tips.
1. Test the Migration First
Use a trial Xero account to test the import process before going live.
2. Keep Your Old Accounting File
Always keep a backup copy of your previous system for historical reference.
3. Migrate at a Financial Period End
Month-end or year-end migrations are easier to reconcile.
4. Run Parallel Systems for One Month
Some accountants recommend running both systems simultaneously to verify results.
Final Thoughts
Migrating from Excel or QuickBooks to Xero can significantly improve how your business manages finances. With automation, real-time reporting, and seamless integrations, Xero provides a powerful cloud-based accounting environment for growing businesses.
However, a successful migration depends on careful preparation, accurate data mapping, and thorough verification.
By following the step-by-step process outlined in this guide, businesses can transition smoothly and start using Xero with confidence.
FAQ’s
1. Can I migrate my data from QuickBooks to Xero?
Yes, you can migrate most of your financial data from QuickBooks to Xero using automated migration tools or manual imports. Typically transferred data includes the chart of accounts, customers, suppliers, invoices, bills, bank transactions, and journal entries. However, certain items such as attachments, payroll history, and custom reports may need to be transferred manually after the migration.
2. How long does it take to migrate from Excel or QuickBooks to Xero?
The migration time depends on the complexity of your financial records. Small businesses using spreadsheets can usually complete the migration within a few hours by importing CSV files into Xero. Businesses migrating from QuickBooks with large volumes of historical transactions may take 1–3 days, especially if professional migration services are used.
3. What data cannot be migrated to Xero?
While most financial records transfer successfully, some data may not migrate automatically. These often include file attachments, customized reports, audit logs, budgets, and certain payroll records from QuickBooks. Businesses typically recreate this information manually after setting up their Xero account.
4. Is it better to migrate to Xero at the end of the financial year?
Yes, migrating at the end of a financial year or month is usually recommended. This approach makes it easier to reconcile opening balances and verify financial reports when switching to Xero. Many accountants also prefer year-end migrations because it avoids splitting financial records across two accounting systems.
5. Do I need an accountant to migrate from Excel or QuickBooks to Xero?
Not necessarily. Small businesses with simple financial records can migrate data from spreadsheets or QuickBooks to Xero using CSV imports and built-in templates. However, companies with complex accounting structures, multiple bank accounts, or large transaction histories may benefit from working with an accountant or certified Xero advisor to ensure a smooth migration.