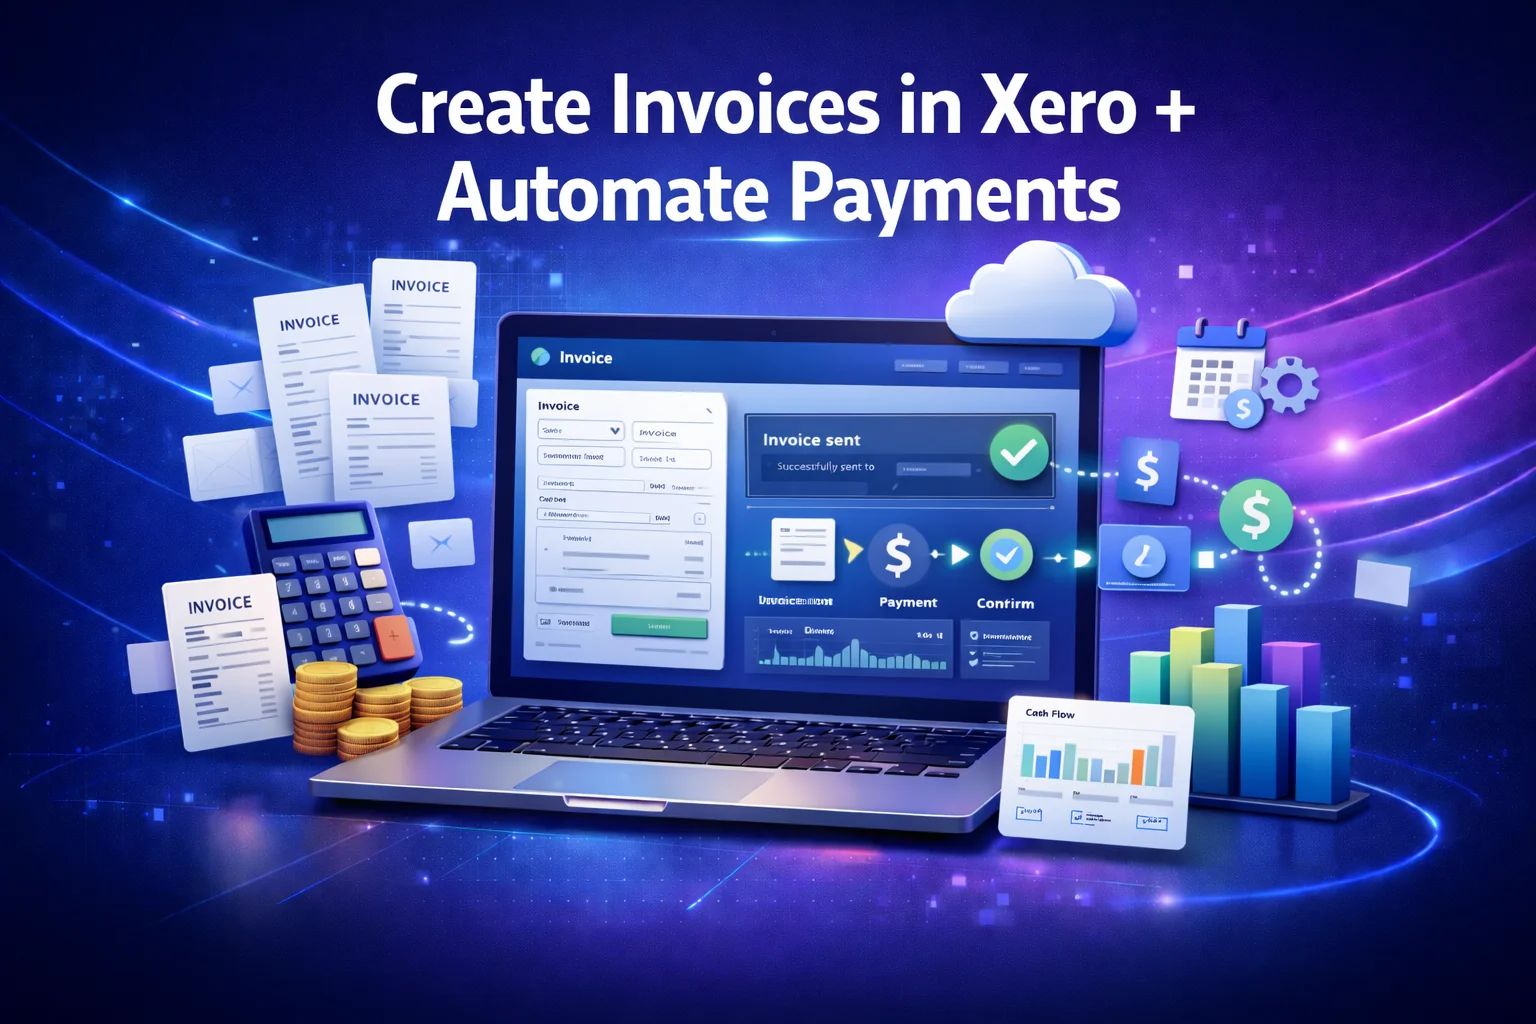
How to Create Invoices in Xero + Automate Payments (Beginner to Advanced Guide)
For any business — from freelancers to established companies — invoicing is one of the most vital financial processes. Invoices are not just bills; they are legal records, drivers of cash flow, and reflections of your professionalism. When combined with automated payment reminders and online payment options, invoicing becomes a strategic tool that improves cash flow, reduces late payments, and streamlines your accounting workflow.
Xero, a leading cloud‑based accounting platform, makes the entire invoicing process intuitive — from creating invoices to automating payment collections and reconciliation. This step‑by‑step guide explains how to create invoices in Xero, customize them, and leverage automation tools so you get paid faster and with fewer manual steps.
Why Efficient Invoicing Matters
A well‑structured invoicing process benefits your business in four key ways:
- Improves cash flow — Faster invoicing and clear payment terms mean quicker payments.
- Reduces administrative work — Automation reduces repetitive tasks.
- Minimizes errors — Digitally created invoices are more accurate than manual processes.
- Enhances professionalism — Well‑formatted invoices reflect your brand and credibility.
According to recent accounting software comparisons, businesses using automated invoicing software collect payments up to three times faster than those relying on manual methods. This is especially true when invoices include online payment options like credit card or bank payments.
Getting Started: How to Create Your First Invoice in Xero
Before you begin, make sure you’ve already set up your organization details, tax settings, and contacts in Xero. If you haven’t done this, your invoicing setup can still work, but the process will be smoother if foundational settings are ready.
Step 1: Log in to Xero
- Go to https://www.xero.com
- Enter your email and password
- Choose your organization (if you have multiple)
Step 2: Navigate to Invoicing
- From the Dashboard, click Business in the main menu
- Select Invoices
- Click New Invoice
You’ll be presented with a blank invoice form where you can input your details.
Step 3: Enter the Invoice Details
Here’s what to include on every invoice:
| Field | What to Enter |
|---|---|
| Contact | Choose the customer from your Xero contacts or add a new one |
| Invoice Date | Date when the invoice is issued |
| Due Date | Payment deadline — e.g., Net 7, Net 30 |
| Invoice Number | Xero auto‑generates this, but you can customize it |
| Items | List products or services provided |
| Tax Rate | Sales tax or VAT, depending on your region |
| Notes | Optional message or payment terms |
After filling out the fields, your draft should resemble a professional invoice.
Creating Line Items and Tracking Details
You can add multiple line items on one invoice if you provided more than one product or service.
✔ Description — Enter clear items so the customer knows what they’re paying for.
✔ Unit Price — The price per item or service.
✔ Quantity — Number of items or service hours.
✔ Account Code — Choose the correct revenue account to ensure accurate reporting.
💡 Pro Tip: Use Xero’s item library if you invoice the same products or services regularly. This ensures consistency and saves time.
Adding Notes and Custom Messages
Under the main invoice table, you can add:
- Optional messages
- Terms and conditions
- Thank‑you notes
Customizing your invoices not only adds professionalism but also sets clear expectations for payments.
Preview and Send
Once all fields are complete:
- Click Save (if you want to review later)
- Click Approve (to finalize the invoice)
- Use Email to send the invoice directly from Xero
Xero allows you to preview invoices before sending so you can confirm formatting, tax calculations, and due dates.
Smart Automation: Email Reminders and Online Payments
Creating an invoice is only half the battle — getting paid on time is where automation makes a big difference.
Enabling Online Payments
A major advantage of cloud accounting software like Xero is the ability to accept online payments directly through the invoice. This gives customers fast, convenient payment options and reduces the friction of traditional banking.
Xero integrates with major payment gateways such as:
- Stripe
- Square
- PayPal
- GoCardless (for direct debit)
How to Set Up Online Payments
- Go to Settings > Invoice Settings
- Select Payment Services
- Choose your preferred provider
- Enter your account credentials
Once enabled:
✔ Payment buttons (e.g., “Pay with Card”) appear on invoices
✔ Customers can pay instantly online
✔ Paid invoices are automatically updated in Xero
💡 Pro Tip: Offering online payments can significantly reduce payment delays — research shows businesses that offer pay‑by‑card have up to 40% faster collections.
Setting Up Automated Payment Reminders
Waiting for customers to remember to pay is a common issue for many businesses. Xero solves this with automated payment reminders.
How to Enable Automated Reminders
- Navigate to Business > Invoices
- Click Configure Automated Reminders
- Choose when reminders should be sent (e.g., 7 days before due date, on due date, and after overdue)
You can customize:
- Message templates
- Timing frequency
- Whether reminders should be sent automatically or manually
Reconciling Payments
Once a payment arrives, you’ll want to reconcile it so your books stay tidy.
Automatic Reconciliation
If you’ve connected bank feeds:
- Xero will import bank transactions daily
- Xero attempts to match bank deposits with invoices automatically
If the bank feed and invoice amount match, Xero suggests reconciliation — you simply approve the match.
Manual Reconciliation
If an invoice payment doesn’t match perfectly (e.g., partial payments or fees), you can:
- Manually match transactions
- Allocate payments proportionally across open invoices
This ensures your books remain accurate.
Useful Invoicing Add‑Ons and Integrations
Xero supports a rich integration ecosystem that enhances invoicing workflows:
| Integration | Main Benefit |
|---|---|
| Stripe | Accept credit/debit card payments |
| PayPal | Trusted, global payment platform |
| Square | Sync in‑person transactions with invoices |
| Hubdoc | Auto‑capture receipts and bills |
| Zapier | Workflow automation between apps |
Integrating tools like Hubdoc allows you to capture invoices and receipts digitally, making expense tracking even easier.
Reports That Help You Track Invoicing Performance
Xero’s reporting suite lets you analyze how your invoicing process impacts cash flow and business health:
Key Reports
✔ Aged Receivables — Shows who owes you and how long invoices are overdue
✔ Invoice Summary — Tracks invoice totals by date or contact
✔ Cash Flow Statement — Helps you understand real inflows and outflows
✔ Profit & Loss — Provides an overall financial performance picture
Regularly reviewing these helps you refine payment terms and follow up with slow‑paying customers more strategically.
Common Mistakes to Avoid
Even with a powerful tool like Xero, mistakes can occur:
❌ Mistake 1: Skipping Customization
Using default templates without adding business branding and payment instructions can reduce trust and clarity.
❌ Mistake 2: Ignoring Payment Terms
Failing to set clear terms like Net 30 or discount incentives for early payment can delay cash flow.
❌ Mistake 3: Not Enabling Payment Methods
Without online payment options, customers may delay payments unnecessarily.
❌ Mistake 4: Missing Reconciliation Reviews
Failing to reconcile regularly can lead to inaccurate reports and tax issues.
Pro Tips for Streamlining Xero Invoicing
| Area | Best Practice |
|---|---|
| Automation | Use scheduled reminders and payment integrations |
| Templates | Include branding, payment terms, and contact info |
| Titles | Use sequential invoice numbers for compliance |
| Follow‑Up | Review Aged Receivables weekly |
Real World Example — Invoicing Workflow
Let’s walk through a simple but complete invoicing workflow with automation:
- Create and approve invoice – Add items, tax, due date
- Send invoice by email – Include online payment links
- Enable reminders – Schedule automatic follow‑ups
- Customer pays online – Payment gateway updates Xero
- Transaction reconciled automatically – Bank feed matches deposit
This workflow minimizes manual bookkeeping and accelerates collections.
Frequently Asked Questions (FAQs)
1. Can I send invoices from the Xero mobile app?
Yes. The Xero mobile app allows you to create and send invoices from your phone or tablet.
2. Can Xero handle recurring invoices?
Absolutely. Xero can generate recurring invoices automatically on scheduled intervals.
3. How does Xero handle partial payments?
Xero allows you to record partial payments and keep track of outstanding balances.
4. Do I need third‑party payment services to accept online payments?
Yes. Xero integrates with payment providers like Stripe, Square, and PayPal to enable online payments.
5. How often should I reconcile payments?
Reconciling weekly ensures your financials stay accurate and avoids month‑end bottlenecks.
Final Thoughts
Creating invoices and automating payments in Xero transforms a fundamental business administrative task from a manual chore into a strategic advantage. Through automation, customizable templates, online payment links, and seamless reconciliation, Xero removes friction from the invoicing cycle and improves cash flow management.
Whether you’re a freelancer, small business owner, or finance professional managing multiple clients, mastery of invoicing and automation in Xero enhances professionalism and accelerates financial operations.
Take the time to configure your invoicing workflow today — your cash flow will thank you tomorrow.